The Ultimate Legal Basement Apartment Checklist for Toronto Homeowners
The Actionable Checklist for a Legal Basement Apartment
Building a second unit in Toronto Vaughan or the wider GTA is a fantastic way to add property value and generate rental income. However passing the municipal inspections requires strict attention to detail. A single missed fire separation code or undersized window can halt your entire project.
While theoretical guides explain the zoning bylaws this article serves as your hands on project checklist. Use these exact steps to ensure your basement apartment is fully prepared for city permits and final inspector approval.
Phase 1 Feasibility and Zoning Checks
Before you hire contractors or buy materials you must ensure your property legally qualifies for an additional suite. Complete these verification steps first
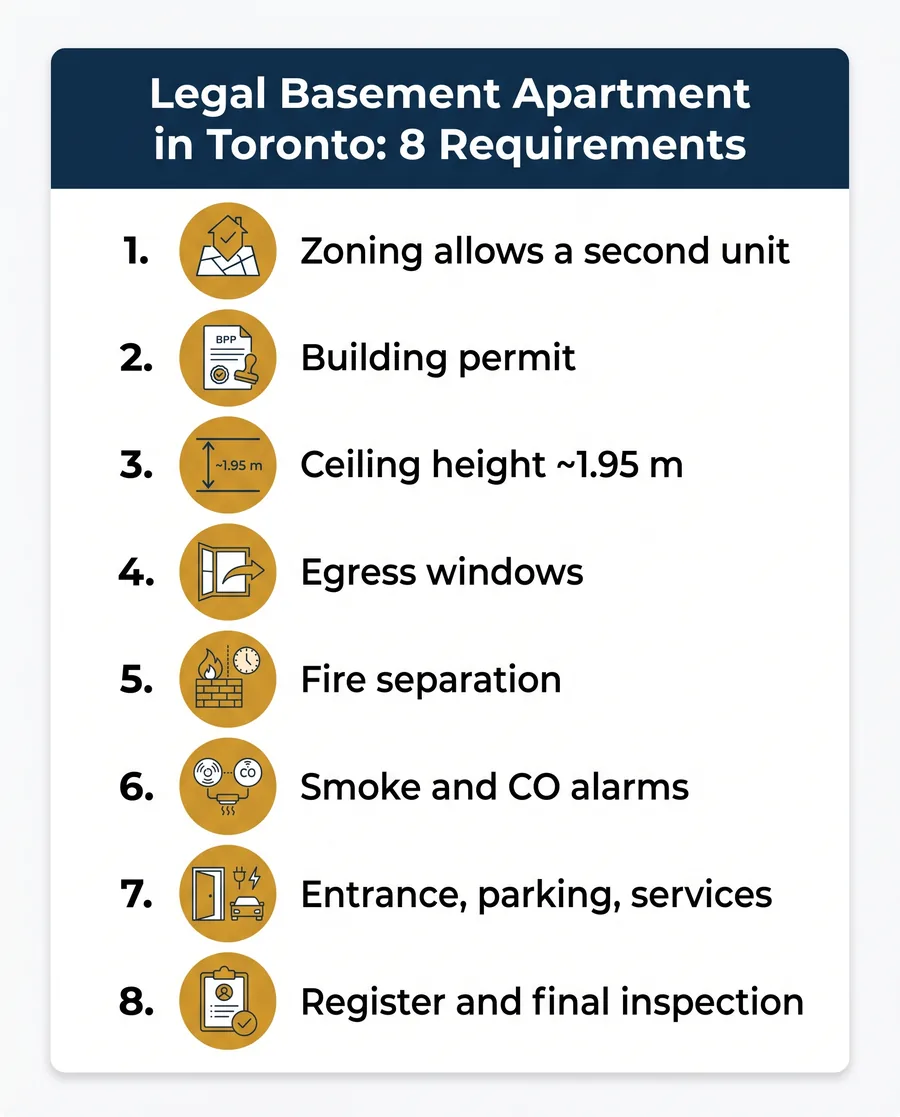
- Verify Lot Eligibility Confirm your specific neighbourhood zoning permits a second unit.
- Check Parking Requirements Ensure you have enough driveway space for an additional vehicle if your local GTA municipality requires it.
- Measure Existing Ceiling Height Grab a tape measure and check if your basement ceiling reaches the required 1.95 metres to the lowest duct or beam.
- Assess Entrance Locations Determine if you can add a separate side or rear entrance without crossing property line setbacks.
Expert Tip
Do not skip the preliminary zoning review. Spending a small amount on professional drafting advice early on prevents massive structural headaches later.
Phase 2 Permit Drawings and Applications
You cannot legally begin construction without an approved building permit. The city needs precise second unit permit drawings to review your life safety compliance.
- Hire a Professional Drafter Work with an expert to create dimensioned floor plans and site plans.
- Include HVAC Specifications Ensure your drawings show exactly how heating and ventilation will be separated or shared between units.
- Detail the Fire Separations Clearly label the fire rating assemblies for the shared ceilings and walls.
- Submit the Application File the complete package with your local building department and pay the required municipal fees.
Phase 3 Construction and Safety Upgrades
Once you hold the permit construction begins. This phase is all about executing the approved drawings perfectly so the building inspector finds zero faults.
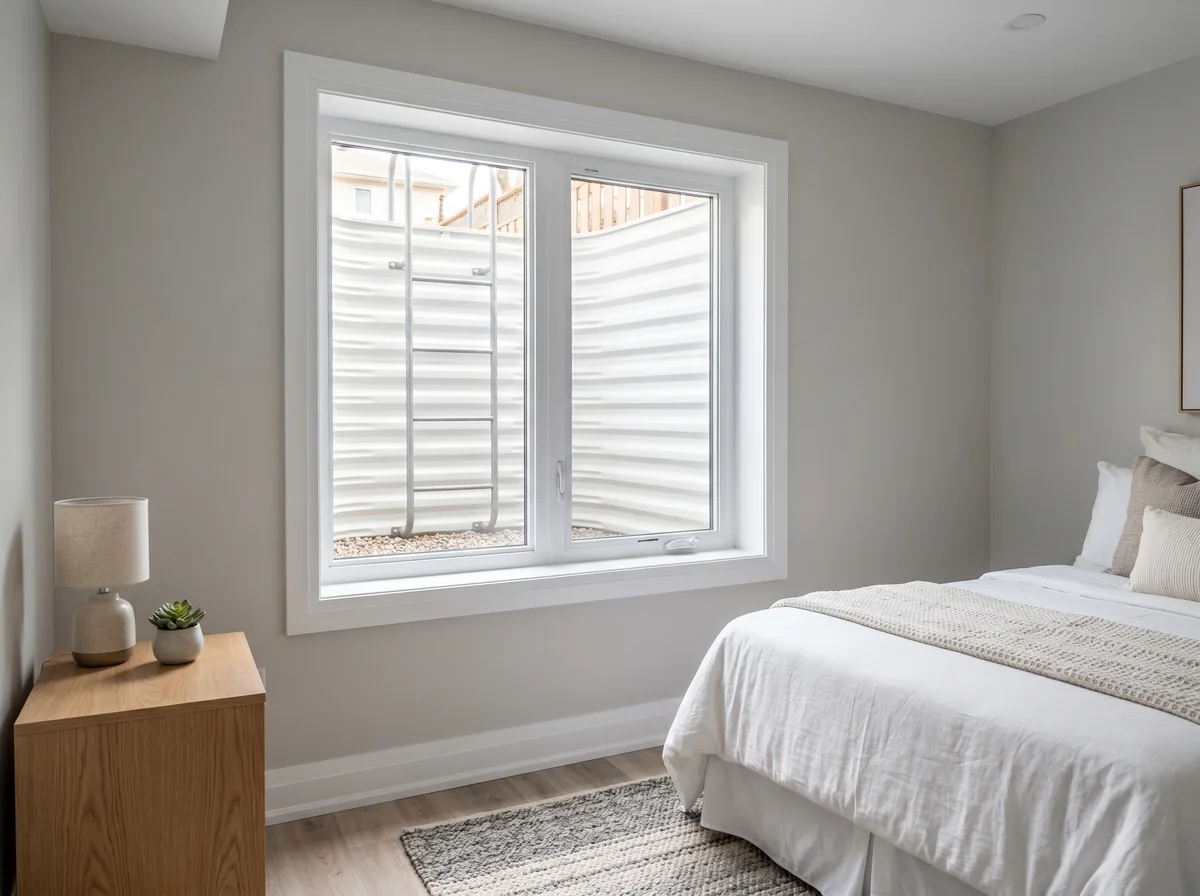
- Install Egress Windows Cut the foundation and install openable windows large enough for a person to escape and a firefighter to enter.
- Construct Fire Rated Ceilings Apply the correct type and layers of drywall to achieve the mandated fire separation rating.
- Install Fire Rated Doors Equip the shared egress doors with proper fire ratings and self closing hinges.
- Wire Interconnected Alarms Have a licensed electrician install interconnected smoke and carbon monoxide alarms so an alert in the basement sounds on the main floor.
Phase 4 Inspections and Final Sign Off
You must book inspections at specific milestones. Covering up work before an inspector sees it will result in orders to tear down your new drywall.
- Book the Framing Inspection Do this before any insulation or drywall goes up.
- Pass the Rough in Inspections Have the city check the exposed plumbing and HVAC rough ins.
- Obtain ESA Electrical Approval The Electrical Safety Authority must pass your wiring before the walls are closed.
- Schedule the Final Inspection Walk through the completed unit with the city inspector to receive your final occupancy sign off.
- Register the Unit If you are in Toronto or specific GTA municipalities submit your approved documents to the local secondary suite registry.
Need Help Checking These Boxes
Acadia Drafting provides complete Toronto permit packages designed to clear municipal review on the first try. From ceiling height solutions to egress window plans we handle the technical details so you can focus on the build. Get a quote today.
Frequently Asked Questions About Inspections

Written by
Sarah C.
House Designer
Sarah is a house designer with over a decade of experience preparing residential permit drawings across Toronto and the GTA. She specializes in single-family additions, second-story builds, and secondary suite conversions